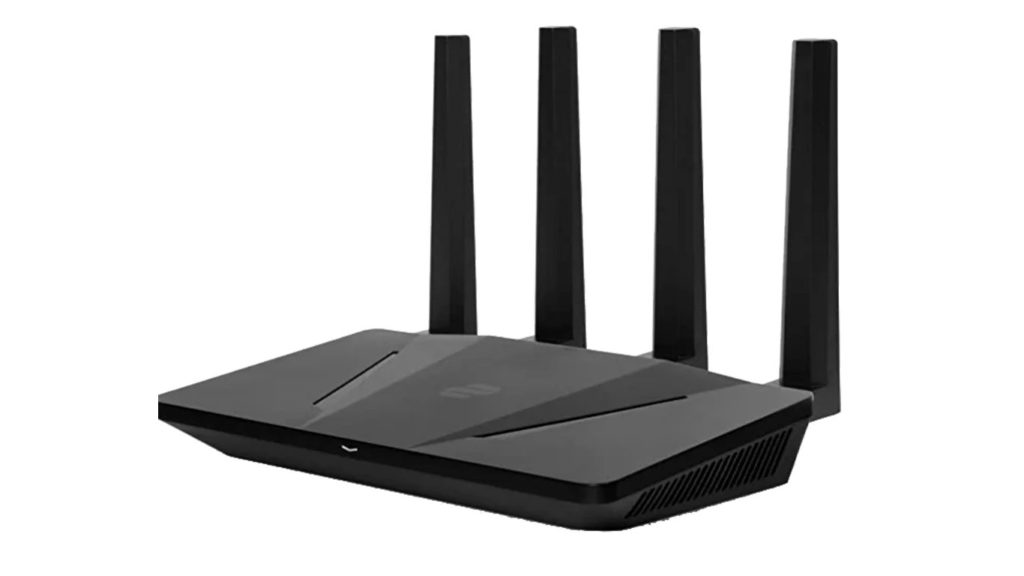
Determined to install ExpressVPN on your router? Great decision – you’ll longer have to install VPN apps on every device you own. Also, the number of simultaneous VPN connections will go from 5 to 8+, typically 16 or 32, depending on your router model. Additionally, you get to add, monitor, or remove devices from ExpressVPN and can set up port forwarding. Also, a built-in algorithm allows you to connect to a VPN on all online devices concurrently, which is amazing for securing your privacy online. All in all, there’s no reason not to learn how to add ExpressVPN to router, so let’s start.
Note. The VPN provider sells a few router models via the FlashRouters store. They are preinstalled with ExpressVPN firmware, allowing you to “plug and play”.
What is a VPN router?
A VPN router is almost identical to a normal router in its function, with only one major difference: the network traffic to and from the router will be via a VPN server, as the router has it pre-installed on the firmware. The firmware also allows users to manage and control the VPN, and any device connected to the router would benefit from a VPN connection.

These routers come with RAM that helps distribute the workload across the network. Also, a VPN router can protect your LAN single-handedly, and you don’t have to get separate VPNs for different devices. You can also use these routers to create a site-to-site VPN. Lastly, you can even forgo firewalls for your home network if you have a VPN router, as it already encrypts the data traveling to and from your network.
Benefits of a VPN router
A VPN router can be beneficial to your network. How? Let’s find out:
Convenience
A VPN router offers convenience above all, as once you install it, you can secure your network at once without spending on separate VPN software. Also, you don’t have to log in to the service on different devices, as any device connected to the network will automatically enjoy VPN protection. The router, as long as it is online, will provide your VPN service on every device.
Multiple device protection
With a VPN router, you can protect multiple devices at once. When you install a VPN router and use it to create a network, any device connected to that LAN will automatically be protected with a VPN, as the web traffic to and from the router will get encapsulated, encrypted, and routed via a remote server.
Can protect IoT devices
There are many devices that use the internet, but they can’t utilize a VPN. It can be an issue with their operating system or interface. Or simply that your VPN provider has no application for that particular device. Hence, you can use a VPN router to protect such devices. These devices include streaming devices, gaming systems, and smart appliances.
Compatible and Automatic solution
Finally, a VPN router is not only a compatible solution for many of your devices, irrespective of factors such as an operating system, but it is also automatic. Hence, you can, without worrying, use a device with a VPN router. Also, there is no need to worry about authentication, as the router automatically uses OpenVPN to protect your online data, and you don’t have to authenticate every device manually.
1. Add ExpressVPN to Netgear router
First, we’ll cover router compatibility, then give you the steps required for installation. Let’s begin.
Which Netgear routers support ExpressVPN firmware?
These Netgear routers are compatible with ExpressVPN:
- Nighthawk R7000
- Nighthawk R7000P
- R6300v2
- R6700v3
Replace your firmware with ExpressVPN’s
Here’s how adding ExpressVPN to a Netgear router works:
1. Download the firmware
Sign in to ExpresssVPN, and then:
- Go to the ExpressVPN Setup page.
- From the drop-down list, select your router model.
- Click on Download Firmware.
- After the firmware is downloaded, either keep the tab open or copy the Activation Code, and keep it in a safe place. You’ll need it in just a moment.
2. New router? (Optional)
If you’re doing this on an existing router, skip to the next step. But, if the router is brand new, do this:
- Attach all of the antennas.
- Connect it to power, but do not plug the Ethernet cable (don’t connect it to the Internet).
- Turn the router on.
- Wait until the power LED (bar or dot) has a solid color light.
3. Installing ExpressVPN firmware
Be warned that this will delete your current router settings, including custom Wi-Fi SSID (name) and password. With that acknowledged, open your Internet browser, and then:
- Enter your router’s admin panel IP address (default: 192.168.0.1) into the address bar and press Enter.
- When asked to sign in with a username and password, enter admin/admin (default values).
- Click on Advanced on the sidebar on the left.
- When it expands, click on Administration, then Router Update.
- Click on Browse. Find the ExpressVPN firmware file (ends in .chk).
- Click the Upload button, and if prompted to turn off your Internet, select OK.
- The router will restart.
4. Connect to the Internet (Optional)
Once again, this is only needed on a new router, whether you use it as the primary or secondary one. Connect the Ethernet cable (or Wi-Fi, if it’s a secondary one). In the case of Wi-Fi, use the default name (NETGEAR_[model name]_[revision]) and password, usually printed on a label.
5. Set the ExpressVPN firmware up
Open your browser. If the tab doesn’t open automatically, visit www.expressvpnrouter.com. On the first page, click on Get Started, and then follow the on-screen instructions to enter Activation Code, set up a new administrator username and password, Wi-Fi name, and password. Configure all the things that make VPN work, click on Done, and your IP will be hidden with a VPN.
2. Add ExpressVPN to Linksys router
Once again, a list of working routers will be followed by detailed instructions. Let’s get into it.
Which Linksys routers work with ExpressVPN?
The following Linksys routers support ExpressVPN:
- WRT1200AC
- WRT1900AC 13J1
- WRT1900AC 13J2
- EA6200
- WRT1900ACS
- WRT1900ACS V2
- WRT32X
- WRT3200ACM
Remove your firmware in favor of ExpressVPN’s
Do this to install ExpressVPN on a Linksys router:
1. Transfer firmware to your computer
Identical to step in 1 in the Netgear guide.
2. Is it a new router? (Optional)
Once again, follow the same steps as in step 2 of the Netgear guide.
3. Install ExpressVPN firmware
Be warned that your custom Wi-Fi SSID and password will be wiped. Now, here’s what to do after opening your browser:
- Visit 192.168.1.1, the default IP address for the router admin section.
- You won’t be asked for the username, only the password, which is admin by default.
- Click on Sign In, then the Connectivity option in the left sidebar on the left.
- Locate the Manual section in the bottom right corner, and click on Choose File.
- Select the firmware file, click on Open, then the Start button.
- You’ll be notified that an update will require a reboot. Click on Yes, then Yes again.
- When the firmware installation finishes, click on OK to reboot your router.
4. Establish an Internet connection for the first time (Optional)
Nearly identical to step 4 in the guide for Netgear. The only difference is that the Wi-Fi SSID/name will be Linksys[last 5 digits of the router’s serial number].
5. Setting up ExpressVPN
The steps are identical to those in the Netgear guide.
3. Install ExpressVPN to an ASUS router
You know the drill based on other router models. Let’s get going.
On which ASUS router can I install ExpressVPN?
These router models work with ExpressVPN:
- AC68U
- AC56R
- AC87U
- AC56S
- AC56U
Exchange your router firmware with ExpressVPN’s
Here’s a 5-step guide add ExpressVPN to an ASUS router:
1. Downloading firmware
This step is the same as step 1 in the instructions for a Netgear router.
2. Using the router for the first time? (Optional)
Once more, this step is the same as step 2 in Netgear router instructions.
3. Flashing ExpressVPN firmware
Be aware that router configuration, especially Wi-Fi password and SSID, will be deleted. Now, here’s what to do after launching your browser:
- Enter 192.168.1.1 (default IP address for ASUS admin dashboard) in the address bar.
- Sign in with username/password. It’s admin/admin by default.
- In the left sidebar, click on Administration, then go to the Firmware Upgrade tab.
- Click on the Upload link, then select the .trx firmware file.
- When you get the success message, you’ll be asked to reboot your router manually. Do so using the physical Reset button.
4. Connecting to the Internet for the first time (Optional)
This step is indistinguishable from step 4 in the instructions for Netgear routers, except that the Wi-Fi name is ASUS_[modelname]__[revision] or Broadcom_Northstar.
5. Configuring ExpressVPN
Again, there are no differences between this and step 5 in the Netgear router instructions.
4. Contact ExpressVPN Customer Service
You can still enable ExpressVPN on unsupported router models released by the brands above, as well as other manufacturers. However, you’ll have to do it manually, via configuration files, which is harder and less secure. To get assistance, as well as help with the installation process of the 3 brands above, you can reach out to ExpressVPN Customer Support. Doing this requires following method 1 of our guide on canceling ExpressVPN.
